
Now is the perfect time to take a woodturning course if you ever wanted to create your own spoons or bowls. Mesa County Libraries hosts a "Learn About Woodturning” class. Grand Valley Woodturners member Buck Taylor will instruct participants about woodturning basics and how to use the tools. He will also cover the basics and different types woods, as well the tools needed to make them.
Woodturning basics
Woodturning is one discipline where you can do it yourself. You might end up with something entirely different to your original idea. It is a rewarding skill that allows for you to make your own choices. The freedom of woodturning means that you can form wooden pieces into virtually any shape or design, a unique trait that most woodworking disciplines don't offer. These simple guidelines will help you turn masterpieces.
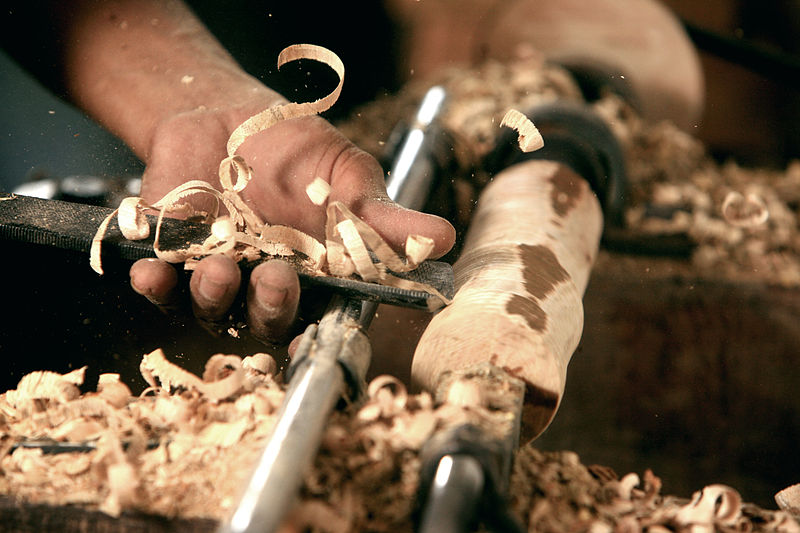
Before you start woodturning, it is important to know what equipment you will need. It is essential that you have a lathe and the necessary tools for wood turning, such as sharpening, shaping, and sharpening. Tools you will need are not costly or heavy. In fact, some people make their own lathes by using a power drill. It is necessary to be familiar with the speed and the exact diameter of your pulleys in order to accurately turn the wooden block.
Techniques
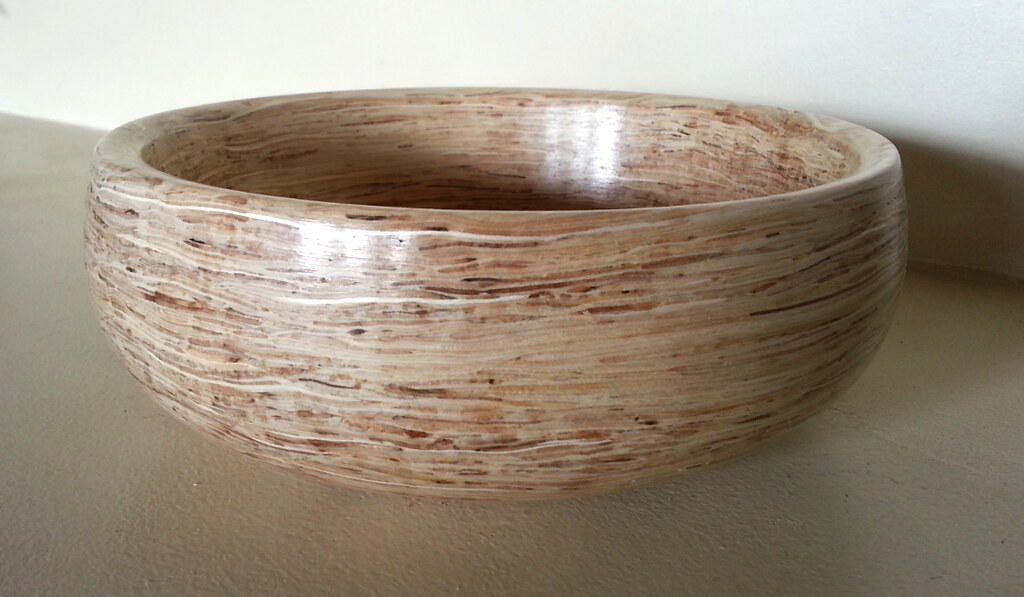
A wood turning class will teach you everything you need to know to turn beautiful bowls, from the proper log selection to the sanding techniques. Learn how to make natural edges with chainsaw logs. In addition, you'll learn how to create unique designs and enhance your bowls with different tools. No matter your level of experience, whether you're a beginner turner or a pro at it, these techniques will help you create beautiful bowls.
The first Techniques for Wood Turning Classes will teach you the basics of woodturning. You will learn how to turn small bowls and spindles. The instructor will also show you how to use the tools and wood needed to turn, as well as how to select the right type of wood and sharpen your tools. You will be able to take home a cutting board with endgrain and a finished bowl as well as a piece end-grain wood.
Tools
There are many different types of woodturning tools you can choose from. A woodturning class is a good option for beginners. Learn all about the woodturning process as well as the basics of selecting the right tools. You will be shown how to use a lathe safely by the instructor. The instructor will teach you about lathe angles and chucking. There will be plenty of hands-on time at the lathe, so you can practice your skills right away.
Different tools are required for different techniques. Carbide tools are great for small projects. They are also much cheaper than traditional HSS-tools. They are ideal for turning small bowls and pen blanks with carbide tools. Carbide tools will help you learn the basics of wood turning while still being affordable. To make the best products, you need to know how to properly use these tools. Wikipedia has an excellent article about woodturning tools that will help you decide which tools to use.
You can take a woodturning class at these locations
You can take a wood-turning course at many locations. One lesson, a whole day, or both. No matter which class you choose, you'll leave the class with a new skill and a finished shallow cherry bowl. Below are some suggestions to help you choose the right class. The best places to take a wood-turning class depend on what you're interested in learning.
Woodturning classes are usually tailored to each student's individual needs. You will be guided step-by–step through the process, regardless of whether you want one-on–one tuition or group lessons. A 1-day class can cover all the basics from turning an object to sharpening tools to using a lathe. Some classes offer food safe finishes so you can apply them on your work.
FAQ
How can I learn basic woodworking skills
The best way to learn how furniture construction is to make your own bench. You can do this project using any type of wood you have on hand at home. You don't need to know which type of wood you should use. Instead, get some pine boards at Lowes or Home Depot. After you've built your bench, you'll want to sand off all the rough edges and finish it with a stain or varnish.
How often should I purchase new supplies?
You will likely need to replace some tools over time. Hand tools will need to be sharpened regularly. If you are using power tools, you will need to purchase replacement parts regularly. Spread your purchases over several months to avoid purchasing too many items at once.
How can you calculate the woodworking price?
The most important thing to remember when calculating costs for any project is to keep them as low as possible. You should always try to make sure that you are getting the best deal on materials. You should also consider other factors that could impact the cost of your project, such as experience, skill level, time, and money. To get an idea about the average cost for common household DIY tasks, see our guide to the average woodwork project price.
Statistics
- Average lumber prices rose about 600 percent between April 2020 and May 2021. (familyhandyman.com)
- Most woodworkers agree that lumber moisture needs to be under 10% for building furniture. (woodandshop.com)
- The U.S. Bureau of Labor Statistics (BLS) estimates that the number of jobs for woodworkers will decline by 4% between 2019 and 2029. (indeed.com)
- If your lumber isn't as dry as you would like when you purchase it (over 22% in Glen Huey's opinion…probably over 10-15% in my opinion), then it's a good idea to let it acclimate to your workshop for a couple of weeks. (woodandshop.com)
External Links
How To
How to stain wood
The process of staining wood involves the application of chemicals to the wood's surface, which causes it to change its color. This chemical reaction changes the wood's color from white to brownish. The most common type of wood used for staining is oak, although many other types of wood can be stained.
There are many ways to stain wood surfaces. Mixing the stain in a solvent such as turpentine and spraying it onto the wood is one method. You can also apply a solution containing water and dye directly to the wooden surface. You can mix stains into varnishes or paints to make them part of your finish coat.
Preparing the surface for staining wood is the first step. You must clean the wood well to remove any grease or dirt that might interfere with the application of the stain. Sanding the wood smooths out rough spots and scratches. The next step is to choose the stain type you want. There are two basic kinds of stains: penetrating stains and non-penetrating stains. Penetrating colors penetrate deeper into wood than those that are non-penetrating. This makes them more suitable for darker colors, such as mahogany. Penetrating stains are best paired with lighter colors, such as maple.
After you've decided what type of stain to apply, get ready for your tools. Because you can spread the stain evenly with a paintbrush, it is ideal for applying them. You should also have some handy rags to wipe up excess stains after you finish painting. You should have enough containers to store the various components of the stain mixture if you intend to mix it yourself.
Once you have prepared all your materials, it is time to clean the areas where you will stain the wood. Use warm water and soap to clean away dirt and dust. Wipe the entire piece of furniture with a rag dampened with clean water. If you intend to stain darker wood, make sure you get rid of any debris.
The stain should be applied next. Next, apply the stain to the furniture by starting at one end. Slowly and carefully move along the grain of wood, slowly but steadily, until you reach the other end. Be careful not to let the stain drip off the wood's edge. Let the stain dry completely before proceeding with the next steps.
Clear polyurethane is used to protect the painted surfaces. Three coats of polyurethane sealing agent are required. Allow the third coat of polyurethane sealer to dry overnight before applying the final coat.