Many online videos are available on woodcarving. Many people prefer watching Ian's videos as they demonstrate techniques step-by-step. His videos are delivered in downloadable video files, and include photographs and plans. All purchasers must be able to view MPG videos and JPG images. His videos are not the only thing he offers. He also offers books to help you carve various materials. Ian Norbury's Fundamentals of Woodcarving is an example.
Woodcarving basics
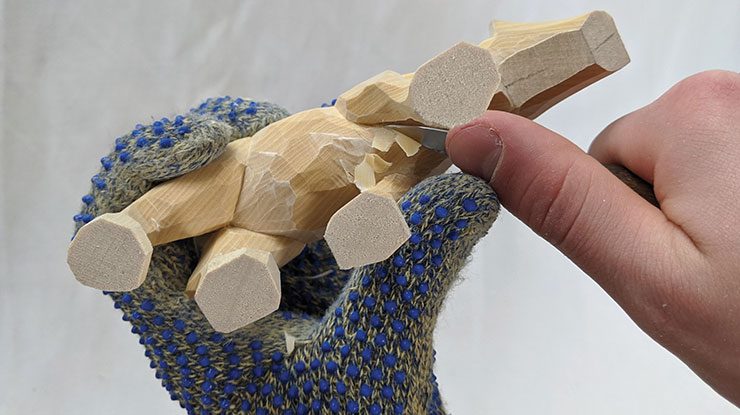
If you are new to woodcarving, you may find it helpful to consider taking a fundamentals class. This class will help you learn the fundamentals of carving. It is tailored to your level of experience. Before learning more advanced techniques and safety issues, you'll learn about woodcarving tools, wood, finishes and what they look like. This class will teach you how to carve a human face or an eagle and Christmas ornament. Also, you'll learn about the grain direction of wood and creative ways to remove it cleanly.
If you've always wanted to learn how to carve flowers or fruit, you might be interested in taking a woodcarving class. It's not difficult to learn the fundamentals if you have a natural talent for the craft. No matter your skill level, you will learn the design process and techniques in a relaxed and fun environment. An experienced woodcarver can tell that you can learn woodcarving by working with a teacher.
Ian Norbury
Watching Ian Norbury's woodcarving videos is like looking over the shoulder of a master carver. Each video guides the viewer step-by–step through the process and shows you how he has refined his techniques over 50 years of carving. These videos come with a money back guarantee and are free to download. You can download them anytime, anywhere and as many times as necessary.
You can use the DVD as a guide or training tool. The videos include step-by-step instructions, as well as video clips of Ian Carving. The entire process can be seen from start to finish. Ian's instructional method is very easy to follow. You will learn how to carve a Harlequin and draw a character taken from a legend. You have over two hours worth of instructional videos that will help you improve your technique.
Frank Russell
Frank Russell's woodcarving videos are great for beginners or intermediate carvers. His techniques cover a variety of subjects, including woodcarving animals, birds, and plants. He shows you how to clean and shape bits. These videos show how to carve, and also provide visual concepts. Frank Russell's videos also can be streamed online or on DVD. Fur, Feathers or Fins will provide a comprehensive guide for carving birds of all kinds.
Frank Russell's woodcarving videos are a great resource for both beginners and experts alike. These videos offer step-by -step instructions for beginners, as well tips for experienced carvers. These videos are made with Foredom Woodcarving Kits. The series also includes a Cotton Tail Rabbit carving videos.
Scott Phillips
Scott Phillips woodcarving videos will provide more information. Scott and his woodcarving skills are featured in the PBS series "American Woodshop." He shares about his first woodcarving encounter, using his father's costly walnut boards. Scott also talks about how his love for baseball inspired the creation of his first decorative jewelry container. Scott has also published a book on history of the shuttle program. Scott will also recount the history of that program in his forthcoming book "Remove Before Flight." While his woodcarving skills have taken off, Scott still builds Adirondack and clock-like furniture.
Kevin Coates
Kevin Coates has some great videos for woodcarving if you like carving. His YouTube channel has almost 7 million views and 26,000 subscribers. Many carvers are inspired by his videos to create woodcarving videos. To learn how to carve a piece of your own art, watch these videos. These videos feature carvings by Kevin Coates and other well-known carvers. Look no further if you are looking for inspiring carving videos.
FAQ
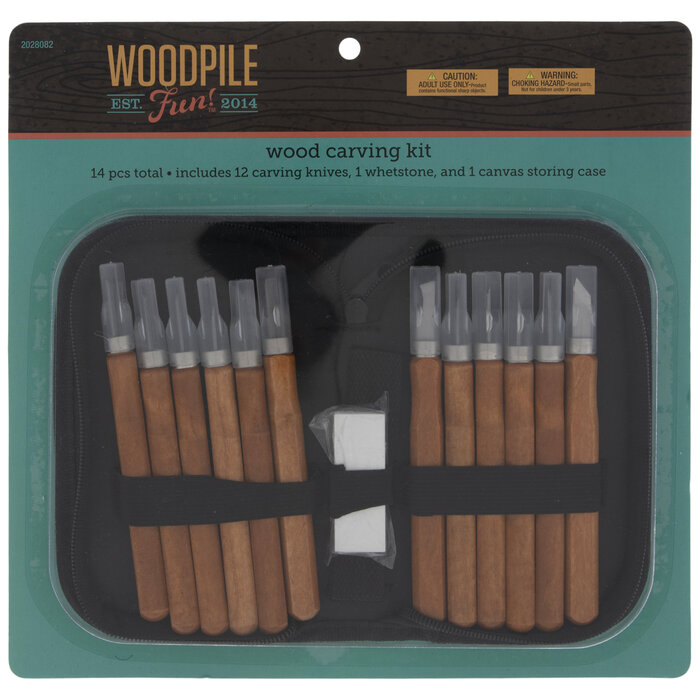
What tools work best for me?
It's important to consider your preferences and needs when buying tools. Are you more comfortable with plastic or metal handles? What size screws or nails do you prefer? Do you prefer to use hand tools or power tools?
Is it possible to refinish your own furniture?
Yes! There are plenty of ways to refinish old pieces of furniture without having to pay a pro. Here are a few ideas:
Sandpaper can be used to remove stains and scratches. Use a clean cloth to wipe the surface.
Apply clear polyurethane finish. Allow furniture to dry completely before you move it around.
Acrylic paint can be used to paint furniture.
Stain can be used instead of paint. The furniture will get a rich look with the stain.
Shellac wax is applied. Applying wax will give the wood shine and protection.
Can this be a way to make money?
Yes! In fact, most woodworkers already have it. According to the U.S. Bureau of Labor Statistics in May 2012, the median annual income for woodworkers was $34,000 This is more than the national average of 31,000 per annum.
Statistics
- The U.S. Bureau of Labor Statistics (BLS) estimates that the number of jobs for woodworkers will decline by 4% between 2019 and 2029. (indeed.com)
- If your lumber isn't as dry as you would like when you purchase it (over 22% in Glen Huey's opinion…probably over 10-15% in my opinion), then it's a good idea to let it acclimate to your workshop for a couple of weeks. (woodandshop.com)
- The best-paid 10 percent make $76,000, while the lowest-paid 10 percent make $34,000. (zippia.com)
- In 2014, there were just over 237,000 jobs for all woodworkers, with other wood product manufacturing employing 23 percent; wood kitchen cabinets and countertop manufacturing employing 21 percent. (theartcareerproject.com)
External Links
How To
How to make wood joints
This tutorial will show you how to join two pieces of wood together. We will be using the "pocket-hole joint", which involves drilling holes in wood and then gluing them together. This method works great if your wood is straight and smooth. If your wood isn't straight or flat, you might want to try another method, such as dowel joinery. Here are the steps
-
Drill Pocket Hole Joints. To start, measure and mark where you want to put the pocket hole joint. You will then drill 3/4" deep holes through each piece of wood with a jigsaw, handheld drilling machine, or hand-held drill.
-
Sand Smooth. The wood's edges can be sanded to prevent splitting.
-
Glue Together Apply glue on both sides of the wooden plank. Allow it to sit for approximately 5 minutes before you clamp the pieces together.
-
Attach the Pieces together. After the glue has dried properly, clamp the pieces together to make sure they are flush.
-
Trim Joinery. Trim any excess wood surrounding the joint once the glue has dried completely.
To be able to turn the pieces inside-out, leave enough room between them.