
You can use many tricks and tips to make your tablesaw work efficiently. Push sticks are a good way to keep the fence straight and ensure the blade is the correct depth. Other tips, based on past experience, will improve your cutting. Read on to discover these and more tips. Also, don't forget to practice! You will be a pro after reading this article. No matter what material you are cutting, you will be amazed at the number of options available to you!
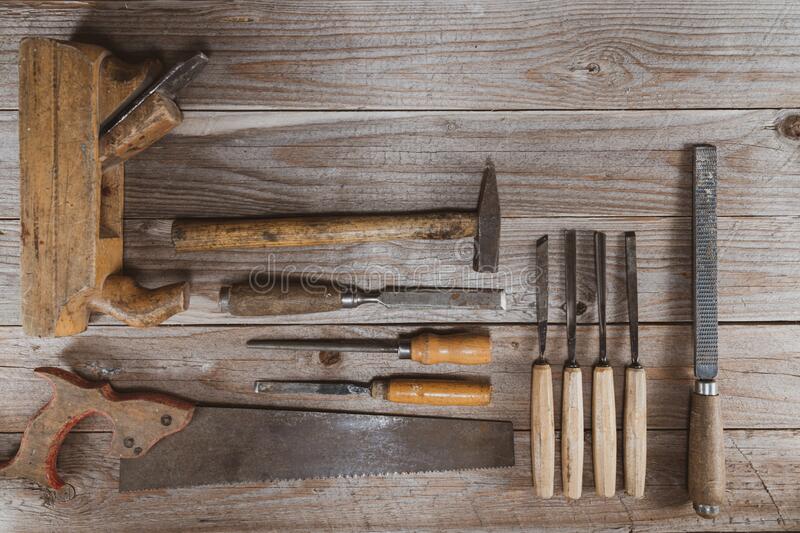
Push sticks
Push sticks can be a great tool to improve the safety of your table saw work. Some push sticks that you can purchase in stores are made of hard plastic and can break or fragment when the blade strikes it. You should instead choose one made from ABS plastic or nylon with fibers. Avoid aluminum push sticks as they can throw flak back at you when they hit the blade. You should instead buy one that is at most 1/4 inch thick.
Blade depth
The blade depth of a table saw should be measured in millimeters. However, this measurement is not mandatory. The CPSC staff reviewed the data and concluded that this voluntary standard has no effect on table saw safety. Below are some important factors to consider when choosing a tablesaw. The blade's depth should not be less than 4mm below the skin. Other dimensions such as the length, width, and depth of the blade must be taken into consideration.

Alignment of fences
Regularly check the fence alignment when operating a tablesaw. The fence must be within fifteen to twenty percent of the blade's depth, which is why it is important to align your table saw's fence frequently. For great cuts, it is important to align your table saw's fencing correctly. You can use scrap wood, feeler gauges or a solid measuring instrument to do this. Measure the distance between the fence and the blade using a gauge. To ensure that the fence is properly aligned, you can feel along the blade’s tooth to determine the distance.
Bridle joints
A bridle joint is a versatile tool for creating joinery. It can be used in many woodworking projects. Bridle joints have many benefits, such as strength, ease of machine, and a finished look. The downside of this joinery is that it is rarely used in furniture. A mortise-and-tenon joint is another example. To create a bridle joint, you must first make a mortise on one piece of wood and a tenon on the other piece. Once you've created the tenoning joint, you're ready to glue the two pieces together.
Outfeed jig
Outfeed jigs tables are great for increasing the flexibility of your workspace, no matter if you're just starting out or upgrading an existing table saw. A miter slot can be made into the table stand's outfeed to make an outfeed jig table. You can then mount an outfeed jig to adjust the height of your tablesaw.
Blade guard
Here are some Blade Guard tablesaw tricks that will keep your hands safe while you cut wood. First of all, visualize the trajectory of the cut. To avoid kickback, do not place your hands in awkward positions. This can cause the blade's to grab the workpiece before you complete cutting it. Crosscutting is another option that allows you prevent the workpiece becoming stuck against the blade. This technique should be practiced often to ensure you stay ahead of the wood.
Dust collection
Fortunately, there are a number of different options for dust collection when using table saws. Dust collection is critical, no matter if you are building or renovating a house, or just cutting wood. A dust collection system should be fitted to your table saw's dust port. These systems capture most of the sawdust generated during work. This keeps your work area clean, and makes it easier to breathe. Unlike a regular vacuum cleaner, table saw dust collection systems are made from heavy-duty fabric and have a sturdy zipper. The best table saw dust collection bags will collect as much as 70% of the dust generated by the machine.
FAQ
How can I learn basic woodworking skills
The best way to learn how furniture construction is to make your own bench. This project can be completed with whatever wood you have available at home. If you aren't sure what type of wood to use, you can buy cheap pine boards from Lowes or Home Depot. You'll need to sand the bench after it's built. Then, finish it with varnish or a stain.
Where can I find free woodworking plans?
To find free woodworking plans, you don't have to buy any magazines or books. Just search Google. Simply type "free woodworking” into the search box and you'll find hundreds of websites that offer free plans.
How long does it take you to finish a piece?
It depends on the size and condition of the furniture. For smaller projects such as picture frames and boxes, it can take less than a day to complete. Larger projects such as tables and desks can take several days to complete. It takes time in order to properly stain or seal the wood.
Statistics
- Most woodworkers agree that lumber moisture needs to be under 10% for building furniture. (woodandshop.com)
- Average lumber prices rose about 600 percent between April 2020 and May 2021. (familyhandyman.com)
- The best-paid 10 percent make $76,000, while the lowest-paid 10 percent make $34,000. (zippia.com)
- In 2014, there were just over 237,000 jobs for all woodworkers, with other wood product manufacturing employing 23 percent; wood kitchen cabinets and countertop manufacturing employing 21 percent. (theartcareerproject.com)
External Links
How To
How to stain wood
The process of staining wood involves the application of chemicals to the wood's surface, which causes it to change its color. This chemical reaction changes the wood's color from white to brownish. Oak is the most common wood type for staining. However, you can also use other wood types.
There are many methods to apply stain to wood surfaces. Some methods involve mixing the stain with a solvent (such as turpentine) and then brushing or spraying the mixture onto the wood. Some methods involve a mixture of water and dye that is applied directly to the wood. Stains can also be mixed into paints and varnishes, becoming part of the finish coating.
Preparing the surface for staining wood is the first step. The wood must be thoroughly cleaned to remove all grease and dirt. Sanding the wood smooths out rough spots and scratches. Next, you need to decide which stain you want. There are two main kinds of stains available: non-penetrating stains and penetrating. Penetrating and non-penetrating wood stains penetrate deeper than other types, making them perfect for dark colors like mahogany. Non-penetrating stains work best with light colors like maple.
Once you have decided on the stain type that you want, get your tools ready. A paintbrush works well for applying stains because it allows you to spread the liquid evenly across the surface. After you're done painting, make sure to have some rags handy to remove any excess stain. If you intend to mix the stain yourself you will need enough containers to hold all the components.
After you have prepared the materials, you can clean the area where you want to stain the wood. Use warm water and soap to clean away dirt and dust. You can wipe down the entire furniture using a damp rag with clean water. If you intend to stain darker wood, make sure you get rid of any debris.
The stain should be applied next. Apply the stain by brushing or spraying it onto one side of the furniture. Slowly and carefully move along the grain of wood, slowly but steadily, until you reach the other end. The stain should not drip off of the wood's edge. Before proceeding to the next step, let the stain dry thoroughly.
Clear polyurethane is used to protect the painted surfaces. Apply three coats of polyurethane sealer. Allow the third coat to dry overnight before sanding the final coat.