To get a fair idea of your woodturning pricing, you should look at your production time and your tools. You may want to budget for how long it takes to prepare the wood and set up the tools. After turning, you should finish the pieces and store them safely, so you should factor that into your pricing. Fine ceramic pottery requires extra care during storage and shipping. Natural edge bowls may need individual packing. These extras should always be included in the price.
Woodturning pricing
Whether you are a beginner or experienced, woodturning is an excellent hobby that can pay for itself in as little as two years. Depending on what tools you buy, you might be able turn a profit within a few months. The tools that you will need to get started are fairly inexpensive at $350 USD. A sander, small space to work in and a wood turning lathe are all necessary.
The most important material for a woodturning project is woodstock. The material you choose can make or break your woodturning project. There are many woodstock sources. It is important to choose high-quality lumber. Woodstock may also be bought online. If you don't want to spend any money on these supplies, you can make your own blanks from wood logs. To save time, prepare a list that includes all the tools required, along with spare parts.
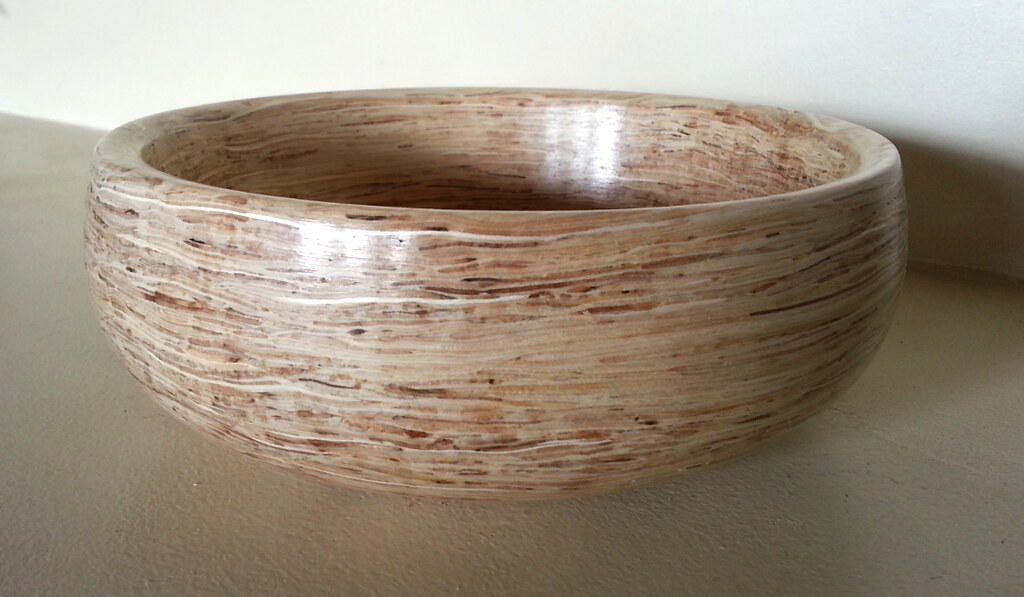
A wood bowl can be an easy way to earn additional income. You have the option of selling them at a profit or keeping them for your loved ones. You can either donate them to charities or make your own. In any case, your family will benefit from the extra money you make. Woodturning can be more complicated than you might think. You can begin woodturning as an hobby or increase your income by working hard.
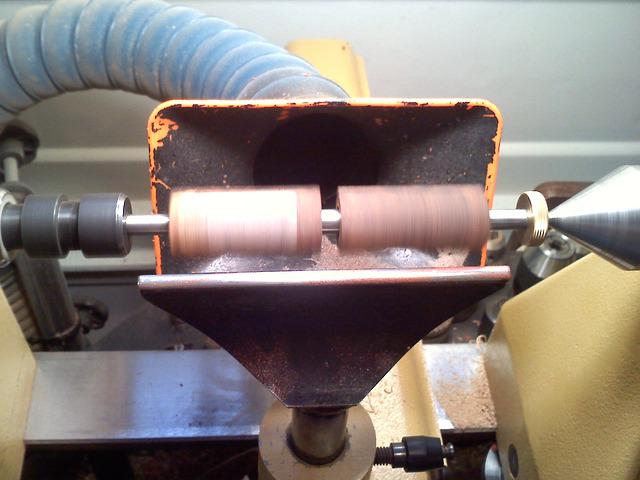
Woodturning tools cost
The right woodturning equipment is essential for anyone who wants to start woodturning as a hobby. These tools are priced according to their quality and brand. Some tools are more expensive so you may need to spend a bit more to get the best possible start in your new hobby. To start, you will need three pieces of equipment. These include a wood lathe, an sander, as well as a small area for work. Once you have these items, you can upgrade to better tools and finishes.

A good starter set of woodturning tools is usually inexpensive. The Robert Sorby H6542 tool set is a great choice. It boasts a high-quality design and construction. It offers the largest selection of tools. The Robert Sorby H6542 Set is more expensive but you get more value for your money. This set includes six tools that will make woodturning easy.
There are a number of options available when you are searching for a starter set. Carbide tools are a good choice for small jobs. Many pen-turners use these tools for shaping their pens. These tools can be used to make pens and a bowl. This set is durable and suitable for all levels of turners. This set includes an ergonomic handle, which makes it easy for you to control and hold.
Cost of a deposit
The cost of woodturning projects is not easy to estimate. However, it is important that all expenses are included in the budget. Estimates should include approximate costs for buying the wood and shipping it. Custom preparation costs and incidental charges such as embossing and additional services are also included. In determining the cost for a deposit, you should consider the estimated time to do each step from sourcing the wood through shipping and storage.
A minimum $100 deposit should be made for a woodturning workshop. The full amount will be returned if the course is cancelled. There may be a small fee for some classes. Before you make a decision, check out the fees. In most cases, the fee will be covered by the deposit. This is an investment that is well-worth every penny. For amateurs just beginning to woodturning, you might want to begin with a few basic skills and then move on to more advanced. If you've done any woodturning before, you can also learn about new skills and techniques by contacting the instructors.
FAQ
How do I know what type of wood I'm dealing with?
Always check the label before purchasing wood. The label should provide information about the wood species, moisture content, and whether preservatives have been used.
How long does it take to finish a piece of furniture?
It depends on the size and condition of the furniture. A smaller project like picture frames or boxes can be completed in a single day. Larger projects, like desks or dining tables require several days. It takes time and effort to properly stain the wood.
How can I learn basic woodworking skills
Building a bench is a great way to get started in furniture building. You can do this project using any type of wood you have on hand at home. If you don't know what kind of wood to use, then go ahead and buy some cheap pine boards from Home Depot or Lowes. After you've constructed your bench you'll want sand all the rough edges off and varnish it.
What is the difference between a hobbyist woodworker and a professional woodworker.
Hobbyists enjoy making things out of wood, whereas professionals focus more on the quality of their work. Hobbyists tend to take pride and share their creations with family and friends. Professionals will spend hours researching designs before they begin working on a project. They'll be meticulous about every aspect of their work, from choosing the best materials to finishing it perfectly.
Statistics
- The best-paid 10 percent make $76,000, while the lowest-paid 10 percent make $34,000. (zippia.com)
- Woodworkers on the lower end of that spectrum, the bottom 10% to be exact, make roughly $24,000 a year, while the top 10% makes $108,000. (zippia.com)
- Average lumber prices rose about 600 percent between April 2020 and May 2021. (familyhandyman.com)
- In 2014, there were just over 237,000 jobs for all woodworkers, with other wood product manufacturing employing 23 percent; wood kitchen cabinets and countertop manufacturing employing 21 percent. (theartcareerproject.com)
External Links
How To
How to join hardwood without using nails
Woodworking is a popular hobby. It is relaxing and enjoyable because you can create something useful with wood. You may need to join two pieces without the use of nails. This article will explain how to do this so that your woodwork projects stay beautiful.
Before you can join the wood pieces together, you need to remove any rough edges. Sharp corners can cause problems down the line. Now it's time to start glueing your boards together.
If you are working with hardwood, only one side should be glue. You should glue both sides if you are working with softwoods such as pine and cedar. Once you have applied the glue, press down on the boards until they are fully attached. After applying the glue, let dry the boards before proceeding to the next stage.
Once you've glued your boards together you will need to drill holes in the joints to accommodate screws. Depending on what type screw you choose, the size of these holes will depend on how big they are. For example, if your screw is a 1/2-inch wooden screw, drill a hole that is at minimum 3/4 inches deep.
Once you have drilled your holes you will need to drive the screws through each joint and into the backside. You should be careful not to touch the board's front surface. This could cause damage. Don't drive the screws too far into the end. This will avoid splitting in the wood's ends grain.
Protect your finished project now. You can seal the furniture pieces or cover the top. You want it to last years, so you can use any product. Some examples include oil-based varnishes, polyurethane, shellac, lacquer, etc.
You can find these products at most home improvement stores. It is important to ensure that you purchase the correct product for the job. Keep in mind that certain finishes can be toxic and should not be used indoors. Wear protective gear whenever you are handling them.