If you want to glue boards together, then you'll need glue. Glue can also be applied to one side of a joint. A roller makes it easy to apply a thin layer of glue. Allow the glue to dry for 24 hours before proceeding to the next step. You can clean any oozing glue with a damp towel during curing. Additionally, you will need to remove any excess glue with a file or sandpaper. You shouldn't cut corners on curing.
Glue boards on both sides
Gluing boards from both sides will ensure that the finished product is flat and even. It is important to not rush this process. It is a complex task, so it should be done slowly. The following are some tips to ensure a successful finish. Ensure that your board is flat and level and that it isn't buckling. Make sure to use a suitable adhesive, and use the right amount.

Apply glue to both the joints' edges
There are many advantages to glueing joints. It strengthens joints and prevents them bending or cracking. Glue is not visible, so the edges are straight and smooth. Also, spread a generous amount glue evenly throughout the joint. Regularly using clamps along the joint will create an overlap of "cones for pressure". This creates a strong and thin glue line. Because they offer a lot of glue surface, lap joints are another option. The following methods are recommended for this type of joint.
Add thickness to a board
You should always add thickness to your boards when gluing them together. If you don't, the wood pieces will look plywood-like. Your finished product will have a different look if you use multiple layers. When you glue multiple boards together, be sure to check the grain. A poor match between the grain and your project will ruin its beauty. Avoid this problem by buying boards from the same log as your project and adding a bit of waste. You can also use the stock that you have available.
A caul can be used to glue boards
Gluing boards can be tricky, and using a caul is an effective way to ensure a flat surface and a strong bond. A caul simply refers to a piece or hard wood you place perpendicularly on top of your table. Cauls should only be made of hardwood, and should be thicker around the glue seam. There are many options for how to use a caul with glue boards.
Avoidflex in cauls
Avoid bowing by avoiding flex in the glue when you are gluing boards together. Cauls have a curvature so they can apply inward pressure when raised. This can cause edge to edge boards to bow, even if they're symmetrical and the cauls are of the same stiffness. This can be fixed by making sure the edges are square and using a proper adhesive.

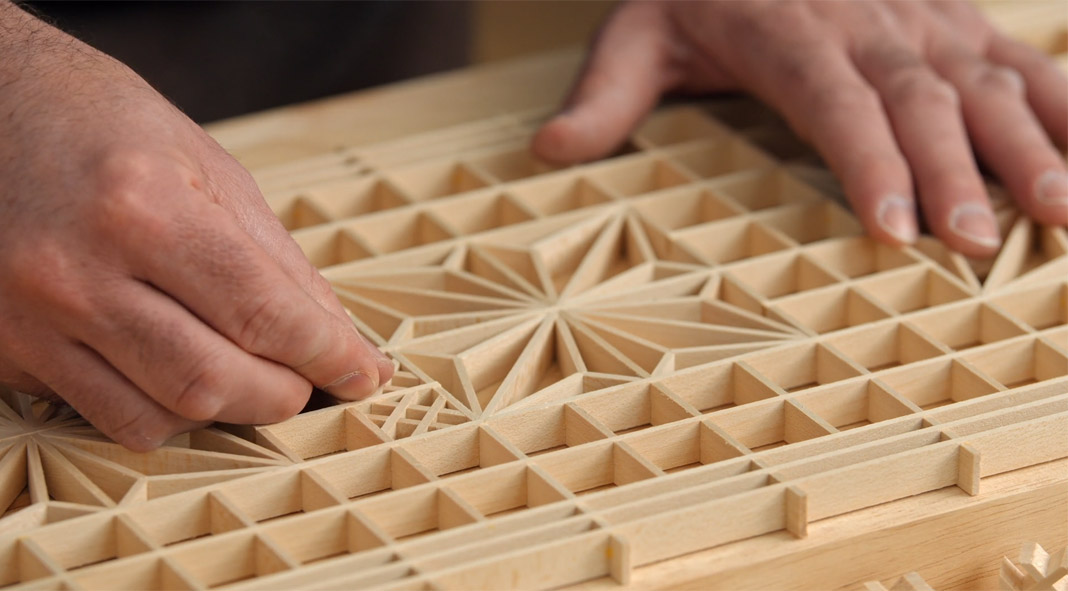
Mirror-image grain patterns created using edge-glued board
Edge-glued boards are made of two pieces of wood combined with mirror image grain patterns. These boards are most commonly used to create veneers but they can also be made from solid wood. This involves resawing one wood piece and then joining it with glue. I will be demonstrating a few simple ways to achieve this effect. Continue reading to learn more.
FAQ
What is the hourly rate for a woodworker?
Hourly rates for professional woodworkers vary depending on many factors such as skill, experience, availability, geographical location, and other variables.
A skilled woodworker can expect an hourly rate of $20-50.
A less skilled woodworker can charge as low at $10 an hour.
What would be your first step in woodworking?
Start off with softwood like pine and poplar. You will feel more comfortable with these softwoods, so you can move onto hardwood.
Is it difficult to start my woodworking business?
Starting your own woodworking business isn't easy. You will need to adhere to many legal requirements. You don't have to go through all that hassle of setting it up. Many people choose to join existing businesses. This will allow you to avoid paying membership fees and taxes.
Statistics
- The best-paid 10 percent make $76,000, while the lowest-paid 10 percent make $34,000. (zippia.com)
- Most woodworkers agree that lumber moisture needs to be under 10% for building furniture. (woodandshop.com)
- If your lumber isn't as dry as you would like when you purchase it (over 22% in Glen Huey's opinion…probably over 10-15% in my opinion), then it's a good idea to let it acclimate to your workshop for a couple of weeks. (woodandshop.com)
- Average lumber prices rose about 600 percent between April 2020 and May 2021. (familyhandyman.com)
External Links
How To
How to join wood with no nails
Woodworking is a favorite hobby. It is relaxing and enjoyable because you can create something useful with wood. You might want to join two pieces from the same wood, but you don't need to use nails. This article will teach you how to do this to keep your woodwork projects looking great.
Before you can join the wood pieces together, you need to remove any rough edges. Do not leave any sharp corners as they could cause problems down in the future. After you have completed this step, you are ready to glue your boards together.
You should only glue one side of hardwood. For softwoods like cedar and pine, glue should be applied to both sides. Once you have applied the glue, press down on the boards until they are fully attached. Before you proceed to the next step, be sure to let the glue dry completely.
After you have glued the boards together, drill holes in the joints where you intend to place screws. Depending on what type screw you choose, the size of these holes will depend on how big they are. For example, if you're going to use a 1/2-inch wood screw, then you should drill a hole that is at least 3/4 inches deep.
After drilling the holes, you can drive the screws into your board's backside. You should be careful not to touch the board's front surface. This could cause damage. When driving the screws, try to avoid hitting the ends of the screws too much. This will help prevent splitting of the end grain.
Protect your finished project now. To do this, you can seal the entire furniture piece or just cover the top. You want it to last years, so you can use any product. Examples include oil-based varnishes and polyurethanes, shellac, lacquer and others.
These products can generally be found in any home improvement shop. Just make sure that you buy the right kind for the job. Keep in mind that certain finishes can be toxic and should not be used indoors. Wear protective gear whenever you are handling them.