
If you're planning to build a deck you might have been wondering how to make a Kregjig. Here are some basics for making your first pockethole. To make your first pocket hole, line up your pencil marks with the Kreg Jig's lines. These lines are called the "A and C" lines. Next, align the mark in the middle of the wood with that mark. Once everything is in line, clamp the wood using the Kreg Jig. You can tighten the clamp by tightening the locknut.
Using a Kreg Jig
Kreg jigs can be used to do a wide range of woodworking tasks. You can use the Kreg jig to make frame and panel doors. The jig can also fasten door trim miter joint. In addition, the jig can be used to make bookcases and many other types of projects. You can purchase a variety size Kreg screws that you can use however you want.
The Kreg jig is only suitable for pocket holes if the wood used is at least 3/4 inches thick. Although it sounds like a one-by four, a 1x4 is actually a 3/4" thick board. The jig includes a corresponding chart that shows the proper settings for your screws and the depth of the wood.
Making pocket holes
Whether you're making your own furniture, or simply remodeling your house, you can make pocket holes with a Kreg jig. While most pocket hole drills use a traditional bit, the Kreg Pocket Hole Jig features a drill guide that allows you to accurately gauge the depth of the hole and the width of the opening. Using the jig's depth collar, you can accurately adjust the depth of the hole by simply holding up the gauge to the piece of wood. The clamp also prevents the pocket hole drill jigs from sliding during drilling.
You can use a Kreg jig to make your own wooden furniture. It's easy to use and create mitered frames. The owners manual can be found online. Kreg Pocket Hole Drills are required in order to use the Kreg Pocket Hole Jig. The jig allows you to miter corners to 45° and ensure a tight fit between the two pieces.
Setting the depth collar on the drill bit
Before you use a Kreg Jig for drilling a hole, make sure to adjust the depth collar. A depth collar is a piece of hardware that fits inside the drill bit slot. The depth collar is adjustable and can be used to drill the exact depth of the hole. It comes with an Allen wrench. First, align the 3/4-inch mark of the Kreg Jig with the bottom edge to adjust the depth collar.
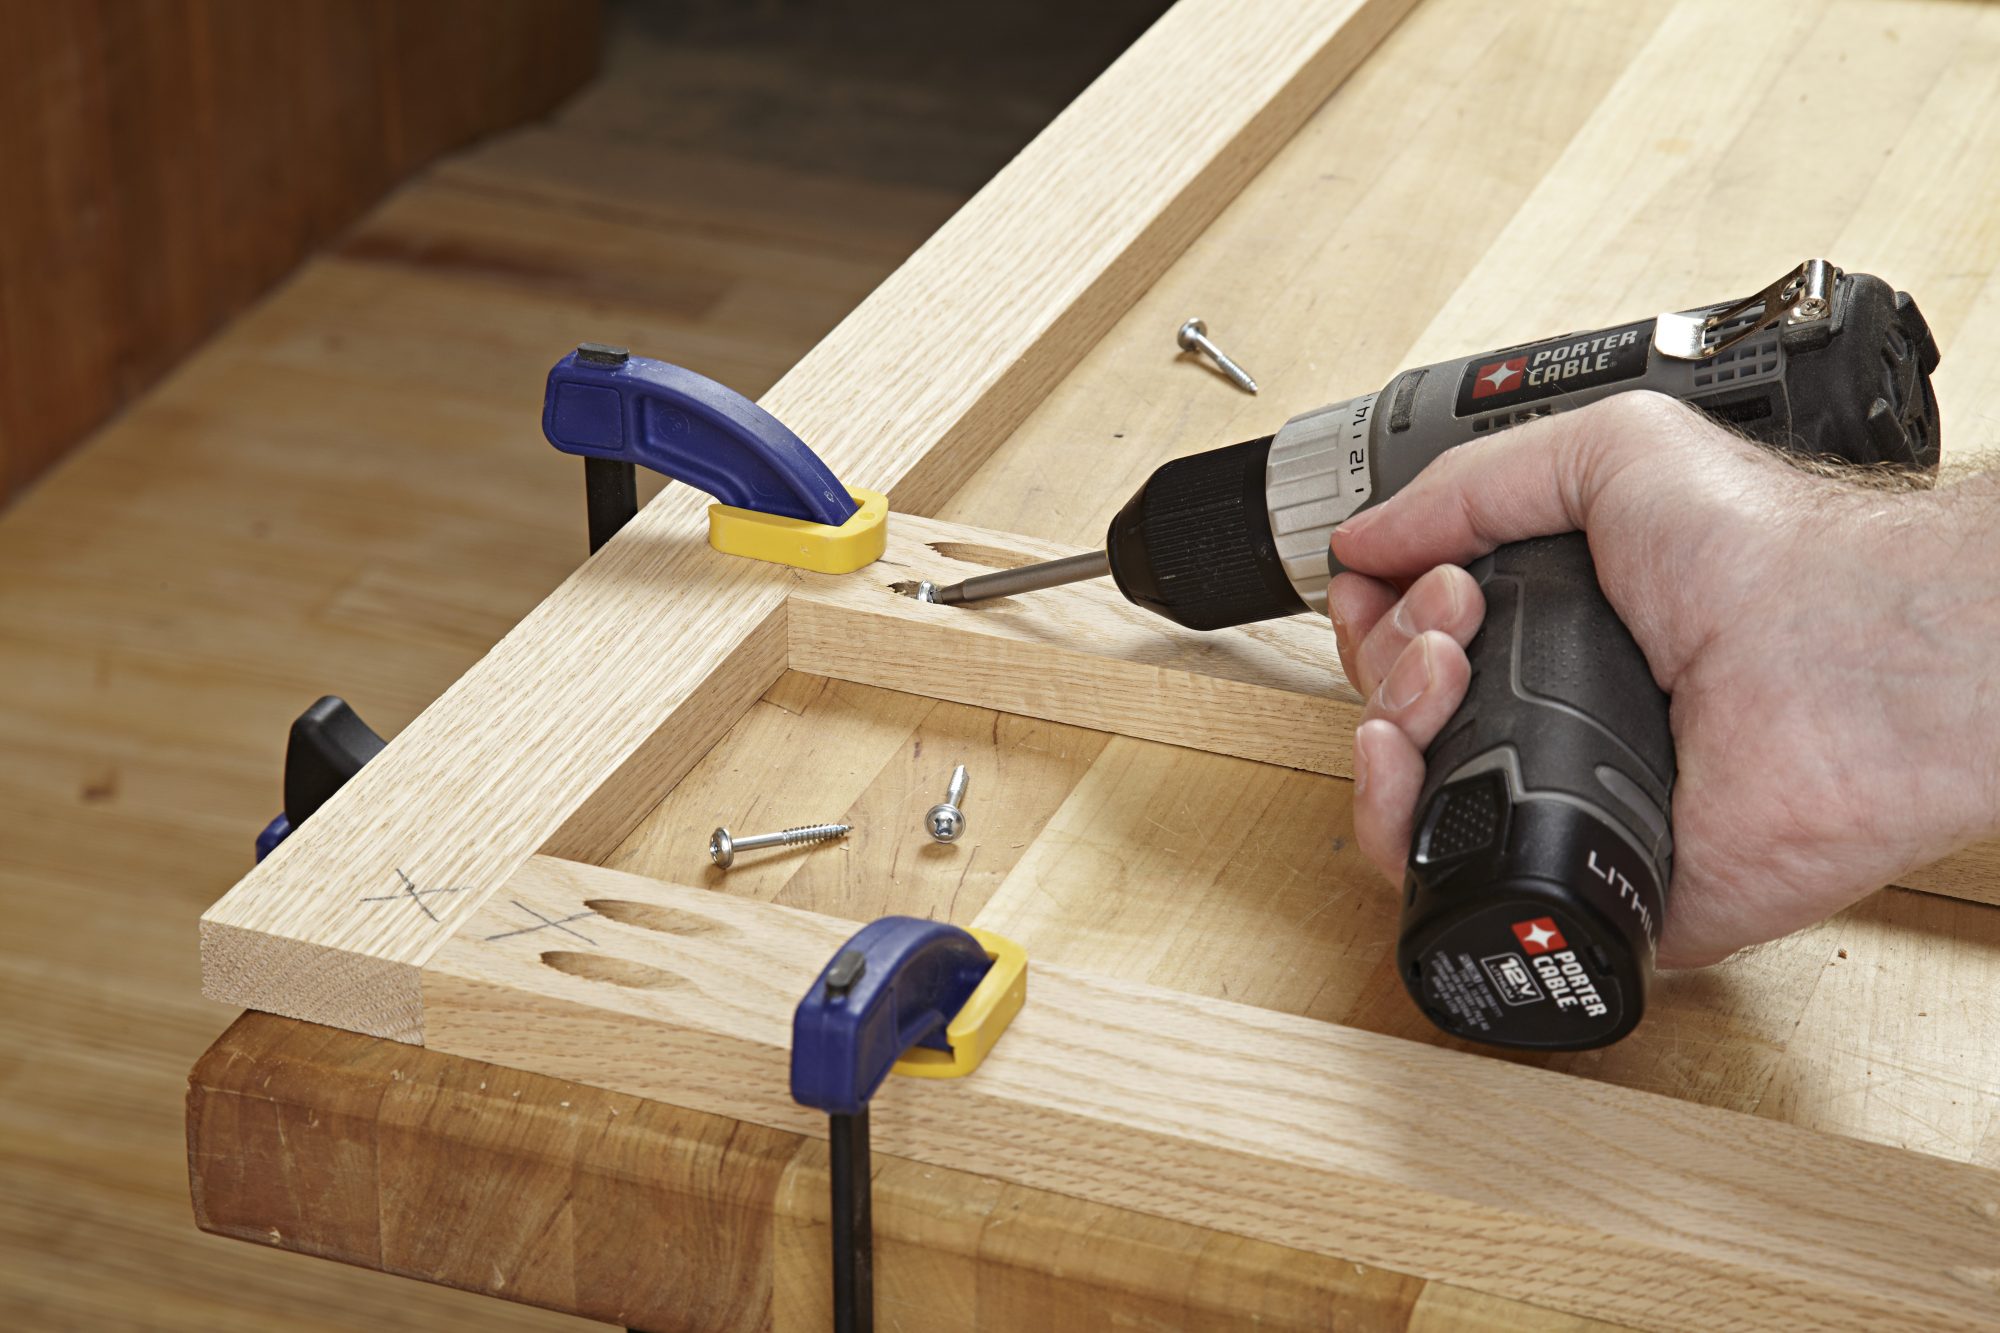
Kreg Jigs come with a special stepped drill bits and a depth collar that allows you to set the depth of your hole. The depth collar of the drill bit is aligned with the guide mark on a jig. The drill bit will stop at the right depth once it is set. It is crucial to use a depth collar that corresponds to the wood's thickness and depth.
FAQ
How do you calculate woodworking costs?
The most important thing to remember when calculating costs for any project is to keep them as low as possible. You should always try to make sure that you are getting the best deal on materials. You should also consider other factors that could impact the cost of your project, such as experience, skill level, time, and money. Check out our guide on the average cost of common DIY projects to get an idea of how much you can spend on woodwork projects.
How long does it take to finish a piece of furniture?
It depends on the size of the piece of furniture. A smaller project like picture frames or boxes can be completed in a single day. Larger projects such as tables and desks can take several days to complete. It takes time to stain and seal the wood properly.
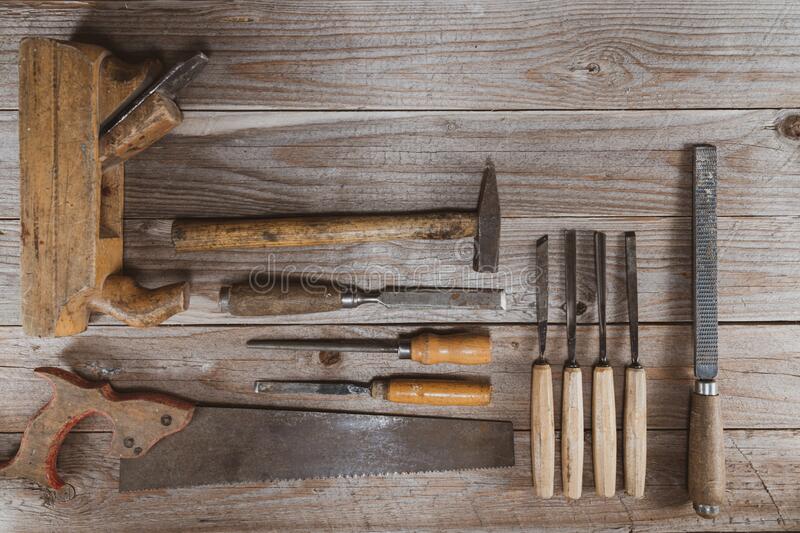
What tools should you start with to become a woodworker
Woodworking is an art form that requires patience and practice. It takes time to master all the tools and techniques involved in woodworking.
There are many types of woodworking equipment on the market today. Some prefer to use power tools, while others prefer to use hand tools.
Your choice, however, is up to you. However, you need to ensure that the tool you use is the right one for the job. Start with a basic set if you don’t have any previous experience.
You could also try learning how to use a router which is used to cut intricate shapes into wood. These can be found at most hardware shops.
What material would you recommend to start learning woodworking?
Start with softwood like pine, poplar and ash. When you feel confident with these two, move on towards hardwood.
Statistics
- If your lumber isn't as dry as you would like when you purchase it (over 22% in Glen Huey's opinion…probably over 10-15% in my opinion), then it's a good idea to let it acclimate to your workshop for a couple of weeks. (woodandshop.com)
- Average lumber prices rose about 600 percent between April 2020 and May 2021. (familyhandyman.com)
- The best-paid 10 percent make $76,000, while the lowest-paid 10 percent make $34,000. (zippia.com)
- Overall employment of woodworkers is projected to grow 8 percent from 2020 to 2030, about as fast as the average for all occupations. (bls.gov)
External Links
How To
Here are some tips on how to drive nails in wood
To drive a nail into wood, the first step is to select the right size and type hammer. There are many types of hammers that you will find: claw hammers and sledgehammers; mallets; ball peen hammers; and hatchets. Each type has its strengths and weaknesses. A clawhammer works best when hitting something hard like nails. However, it can sometimes be difficult to see exactly where the strike is going. The sledgehammer works well for large areas, but is too heavy for smaller tasks.
After choosing the right hammer, place your hand flat against the side of the head so that the handle rests comfortably in your palm. Hold the handle in your hand, but don’t force it too hard that you break. Keep your wrist relaxed and the hammer straight up. You should then swing the hammer straight up, keeping your wrist relaxed. You should feel the impact on the nail from the hammer. You can practice swinging the hammer with a block or wood until you feel the rhythm.
Once you are ready to drive the nail, place the hammer close to your body. The nail should be perpendicular to wood's surface. Your eyes should be focused on the nail's tip. Swing your hammer forward. Then follow through with the motions of the hammerhead. Repeat this action several times, gradually increasing the speed of the swing. After mastering the technique, you can add power to your swings. Then, raise the hammer from your shoulder to bring it down. You will be able to use more energy and put your best foot forward.
Once you have made the first hole, remove your hammer. To pull out the remaining nails, use a screwdriver or pry bar. You should ensure that the nails are flush with the board's surface to avoid splitting the wood.