
The art of woodworking is not a dying one. Many woodworkers still follow traditional methods, such as cleaving or riving and breaking. Cleaving the wood vertically follows the grain and riving does not break the fibers. This technique uses a traditional hand tool called the froe. However, axes and wedges can also been used. It is important to not waste any materials.
hewing
Hewing is a traditional woodworking method that has not been lost. It's a technique that involves splitting logs vertically along the grain, but doesn't break the wood's fibers. A froe, and wedges are the traditional tools for hewing. The hewer is able to measure the timber in the log precisely using the froe as well as the wedges by measuring the ends.
Hewing is an essential skill in greenwoodworking. It involves cutting a log into wood. This ancient technique is returning to popularity as more people go green. This method was used for timber framing long before the advent and widespread use of sawmills. Even today, it is used to make squaring beams. Even if you're not building a whole house, you may not have to pay to buy finished lumber, so it's a skill worth developing.
Modern woodworkers have a lot of access to machinery and extensive infrastructure, but it is not impossible to remember how old-fashioned hewing was done. Many woodwork products were actually started out as simple crafts using the metamorphic capabilities of wood. Woodworkers were responsible for most household needs. Even though modern woodworkers are able to use automated methods, they still need extensive knowledge and skills to manage trees. Working with them in the old ways yields valuable returns and can help the environment.
Clever
The foundations of green timberworking date back to the very beginning of humankind's relationship towards wood. The first steps of green woodworking are cleaving and splitting. They preserve the fibres that run the length the tree, making it strong. Hand tools are necessary, including a drawknife and pole lathe. To rough-shape chairs, an adze can also be used.
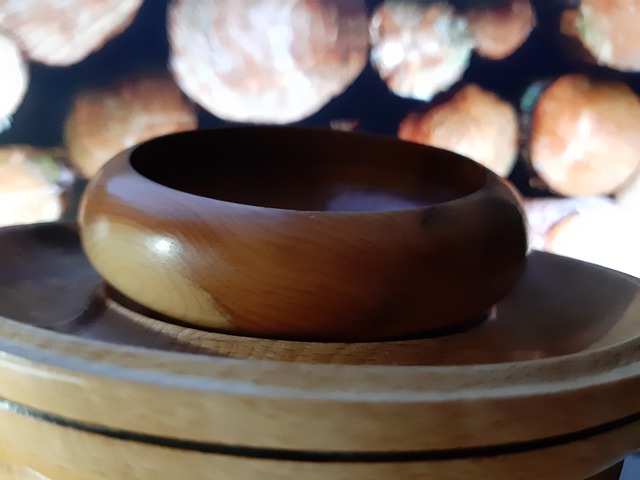
The most important characteristic of cleft wood is its strong structure. A froe is a tool that can be used to cleave and separate wood. It is a sharp tool that allows the wood to break away naturally. Freshly cut wood is the best choice for cleaving. It will be more straightforward and efficient. Woodworkers may use many different tools and equipment in order to create many objects.
Splitting logs can be done in a similar way to ripping wood. But the process is a bit different. Cleaving logs is done with a froe and a wooden mallet. This is safer than using an axe. A froe is a blade that is attached to the wood using the mallet. The handle is used as a lever that increases the force. It can also be used to direct the split in the right direction. To split a log properly, it is important to start from one end and work your way to the other.
Hewing break
Hewing is the act of turning a wood log into lumber using an saw. Before the development of sawmills, hewing was the standard method of shaping beams. This process is still used occasionally for timber framing. People often do not pay for finished lumber and save money by hewing their own logs. This is a traditional practice and it is also considered to be environmentally friendly. You can read on to learn more about the advantages of hewing.
Wood that is hard requires more work. The saw blade could be too hot if wood is too soft. Hard woods such as cherry, hard maple and fruitwoods are best. Select a clean, unblemished log. Take a close look at the bark and end grain. If necessary, you may need to cut it with a knife and wedges. If it is cool, you want to look for a cool sensation.
Green woodworking isn't for you if your are just starting out. Although unseasoned wood is easily available, it's important to know how to maintain it and the proper tools. Because it is more difficult to work on, avoid using figured timber. For the best results, choose oak and ring-porous timber. Forest-grown trees have the straightest wood grain and fewer knots. This woodworking method reduces waste and improves quality of life.
FAQ
What type of tools does a carpenter use?
The most common tool used by carpenters is a hammer. The hammer is used to pound nails into wood. They can also use it to hold the pieces together as they work on a project. Other tools include clamps.
Where can I locate free woodworking plans
Woodworking plans can be found online without the need to purchase books or magazines. Just search Google. You can search Google for "free woodworking" and hundreds of websites will appear allowing you to download plans.
How can a beginner woodworker make money?
Many people want to open an online furniture business and are learning how to build it. But if you're just getting started building furniture, there are other ways to earn money besides selling on Etsy. Local craft fairs and events are great places to sell your products. A workshop could also be offered for people who are interested to learn how they can build their own furniture. If you have the experience to be a carpenter, builder, or a designer, you may consider offering your services in remodeling homes or creating custom pieces.
How much money will I need to get started?
There are no exact numbers because every project is different. These factors will help you get an estimate of how much money is needed.
-
Material cost
-
Tools and equipment
-
Time spent on the Project
-
Your hourly rate
-
How much profit can you anticipate to make
-
No matter if you are looking to hire someone
If you're just starting out, you may decide to start small by making simple items such as boxes and picture frames. You'll become more proficient as you get experience.
Is it possible to open my own woodworking shop?
It is not easy to start a woodworking business. There are lots of legal requirements and regulations that you'll need to follow. This doesn't necessarily mean that you should go through all the work of setting up a company. Many people prefer to join existing companies. You will only have to pay membership fees, taxes, and other charges.
How can you calculate the woodworking price?
The most important thing to remember when calculating costs for any project is to keep them as low as possible. Always make sure you get the best price on materials. It is also important to consider the costs of other factors, such time, skill, and experience. Our guide to the average household DIY task price will give you an idea of how much it costs to complete different types of woodwork projects.
Statistics
- If your lumber isn't as dry as you would like when you purchase it (over 22% in Glen Huey's opinion…probably over 10-15% in my opinion), then it's a good idea to let it acclimate to your workshop for a couple of weeks. (woodandshop.com)
- Woodworkers on the lower end of that spectrum, the bottom 10% to be exact, make roughly $24,000 a year, while the top 10% makes $108,000. (zippia.com)
- In 2014, there were just over 237,000 jobs for all woodworkers, with other wood product manufacturing employing 23 percent; wood kitchen cabinets and countertop manufacturing employing 21 percent. (theartcareerproject.com)
- Average lumber prices rose about 600 percent between April 2020 and May 2021. (familyhandyman.com)
External Links
How To
How to join two pieces of wood together without nails
Woodworking is an enjoyable hobby. Woodworking is a relaxing hobby that allows you to use your hands to create useful things from wood. You might want to join two pieces from the same wood, but you don't need to use nails. This article will show you how to do it to make your woodwork projects look great.
The first thing you'll need to do is cut off any rough edges from your pieces of wood before joining them together. Do not leave any sharp corners as they could cause problems down in the future. Once you've done this, you're ready to start gluing your boards together.
If you're working with hardwood, you should only apply glue to one side. You should glue both sides if you are working with softwoods such as pine and cedar. After applying the glue, press the boards firmly until they are completely stuck together. Before you proceed to the next step, be sure to let the glue dry completely.
After you have glued the boards together, drill holes in the joints where you intend to place screws. The size of these holes depends on what type of screw you choose to use. For example, if you're going to use a 1/2-inch wood screw, then you should drill a hole that is at least 3/4 inches deep.
Once you have drilled your holes you will need to drive the screws through each joint and into the backside. You should be careful not to touch the board's front surface. This could cause damage. When driving the screws, try to avoid hitting the ends of the screws too much. This will help prevent splitting of the end grain.
After your project is completed, you will need to protect it from the weather. You can either cover the entire furniture or just the top. You will want to choose a product that will be durable for many years. There are many options: oil-based varnishes; polyurethane; shellac; lacquer.
You can find these products at most home improvement stores. You should make sure you are getting the right type for the job. Keep in mind that certain finishes can be toxic and should not be used indoors. Protective gear should always be worn when handling these finishes.