Sharp edges in wood carving tools enhance your pleasure of carving. These are the most common ways to sharpen your wood carving tool. Sharper edges will also last longer than duller ones and are therefore more durable. Sharp edges also ensure a more efficient use of your tool. Sharp edges are easier to carve and provide the best cutting performance. The following are three common ways of sharpening wood carving tool. Read on to learn more. - How to sharpen a sharpening stones.
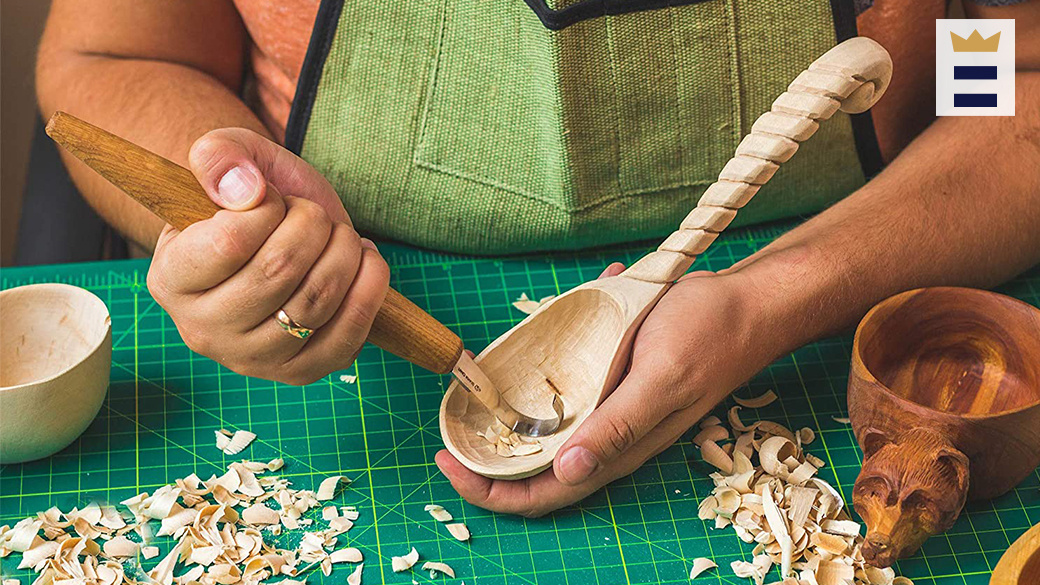
Sharp edges enhance carving pleasure
In addition to sharp tools, the best carving experience is achieved by using tools with razor-sharp edges. Sharp tools make carving easier and require less effort. A smooth, well-cut blade gives you a smooth cut. For a successful carving job, sharp tools are vital. To achieve best results, you should sharpen your carving tools frequently. Regular sharpening will keep them sharp and make your carving work much easier.
Sharp edges can increase the pleasure of carving but they can also cause blisters. Wood's natural texture can be rough so regular handling will make the skin more resilient. While blisters can eventually heal into calluses (which is often painful and time-consuming), this process can take a while. If you notice blisters in your carving, try to change the way you hold your tools. It will take practice, but it is worth it.
When sharpening your knives, begin by using a sharpening kit and a fine-grained stone. Check for any damage to the edge. Chips along the edge will need to be ground more vigorously. An edge that is dull may need minimal grinding with a finer grinder. Finally, you can test the knife with a piece of paper or rope. A sharpening stone may not be necessary if the knife is dulled for a while.
Common techniques for sharpening wood carving tool
There are many ways to sharpen wood carving tools. There are oil stones, water stones, ceramic stones, and diamond sharpening stones. To prevent metal particles from encrusting on stone surfaces, oil must be applied to oil stones. Ceramic and diamond stones don't require oil and are ideal for sharpening carbide wood carving tools. This article will cover the most common methods of sharpening wood carving instruments.

You can use a leather strop to remove the wire edge of a blade and then polish it. A leather strop is good for all tools. However, some carvers prefer a more textured one. Flat leather strops are best for straight tools and the edges of gouges. A leather strop with grooves is for those who are serious about their work.
Bench chisels are traditionally sharpened at a 25-degree angle with a five-degree secondary bevel. Modern alloys may not work well with these angles, and could even crack. Therefore, it is necessary to increase the angle at which the bevel is placed. This requires more force but will allow you to control the bevel better. The same goes for block planes. They are often sharpened at an angle of 20 degrees.
Using a sharpening stone
You can sharpen your wood carving tools with a sharpening tool. The stone's crystalline form contains grit. This mineral is hardier than steel and has sharp edges. Most stones will need a lubricant in order to cut properly and prevent metal particles from embedding into it. Once you have sharpened your edge to make it easier to cut wood, it will also be less resistant. The strop (often made of leather) is used to polish the edge, remove burr, and clean up the edges.
There are many different types of sharpening rocks on the marketplace. You can choose from oilstones, waterstones or ceramic stones. Oil stones use oil to prevent fine metal particles from getting buried in the stone's surface. The lubricants that are needed for ceramic and diamond stones are not required. Both are effective in sharpening carbide-wood carving tools.
Sentima's sharpening stones are a wonderful example of quality. It features a coarse and fine stone, both made of corundum. This material is uniform in grain, which makes for a fast cutting process and smooth finish. Its unique design makes it easy to clean. The sharpening mechanism is made of durable materials, and it will last many years without deteriorating in quality.
FAQ
Which woods are good to use for furniture-making?
Woods are classified by their hardness. Softwoods are pine, cedar and cypress. Because they resist rot, softwoods can be used to make outdoor furniture. These hardwoods include maple, mahogany and teak. They're generally used indoors because they won't weather well outdoors.
What are the basics of woodworking?
A great way to start learning how to build furniture is by building a simple bench for yourself. You can use any wood you have in your home to complete this project. If you are unsure what type of wood is best, you can get cheap pine boards at Lowes (or Home Depot) instead. After you've constructed your bench you'll want sand all the rough edges off and varnish it.
Where can I purchase hardwood lumber?
Home Depot offers hardwood lumber. They carry a variety of wood products such as flooring, cabinets, and furniture.
A large variety of engineered hardwoods is available to them, including Ipe (Araucaria Angustifolia), Brazilian Cherry and Peau d'Arco.
You can find these woods for sale online by searching "hardwood lumber" on Google.
Statistics
- Woodworkers on the lower end of that spectrum, the bottom 10% to be exact, make roughly $24,000 a year, while the top 10% makes $108,000. (zippia.com)
- Average lumber prices rose about 600 percent between April 2020 and May 2021. (familyhandyman.com)
- Most woodworkers agree that lumber moisture needs to be under 10% for building furniture. (woodandshop.com)
- If your lumber isn't as dry as you would like when you purchase it (over 22% in Glen Huey's opinion…probably over 10-15% in my opinion), then it's a good idea to let it acclimate to your workshop for a couple of weeks. (woodandshop.com)
External Links
How To
How to stain wood
Staining wood can be described as a process where chemicals are applied to the wood surface. This causes the wood to take on a new color. This chemical reaction changes the wood's color from white to brownish. Although oak is the most popular type of wood to stain, there are many other types that can be used.
There are many ways to stain wood surfaces. Some methods include mixing the stain along with a solvent like turpentine and then applying the mixture to the wood by brushing or spraying. Others use a solution made up of water and dye, which is then applied directly onto the wood. It is possible to mix stain into varnishes and paints, making it part of the finishing coat.
The first step in staining wood is preparing the surface. You must clean the wood well to remove any grease or dirt that might interfere with the application of the stain. Sanding the wood smooths out rough spots and scratches. Then you must decide what kind of stain you want to use. There are two main kinds of stains available: non-penetrating stains and penetrating. Penetrating stains penetrate deeper into the wood than non-penetrating ones, making them ideal for dark colors such as mahogany. Non-penetrating stains work best with light colors like maple.
After you've decided what type of stain to apply, get ready for your tools. A paintbrush works well for applying stains because it allows you to spread the liquid evenly across the surface. A few rags are also handy to clean up any spillages after you have finished painting. If you intend to mix the stain yourself you will need enough containers to hold all the components.
Once you have prepared all your materials, it is time to clean the areas where you will stain the wood. Use soap and warm water to remove dust and grime. Use a dampened sponge and warm water to clean the entire piece. Take care to remove all debris and dirt, especially if you are planning on staining darker wood.
The stain should be applied next. Apply the stain by brushing or spraying it onto one side of the furniture. You should work slowly and carefully. Continue moving along the grain until you reach your opposite end. Be careful not to let the stain drip off the wood's edge. Allow the stain to dry completely before you move on to the next step.
A coat of clear polyurethane sealing agent is applied to protect the paint. Apply three coats polyurethane sealer. Allow the third coat to dry overnight before sanding the final coat.